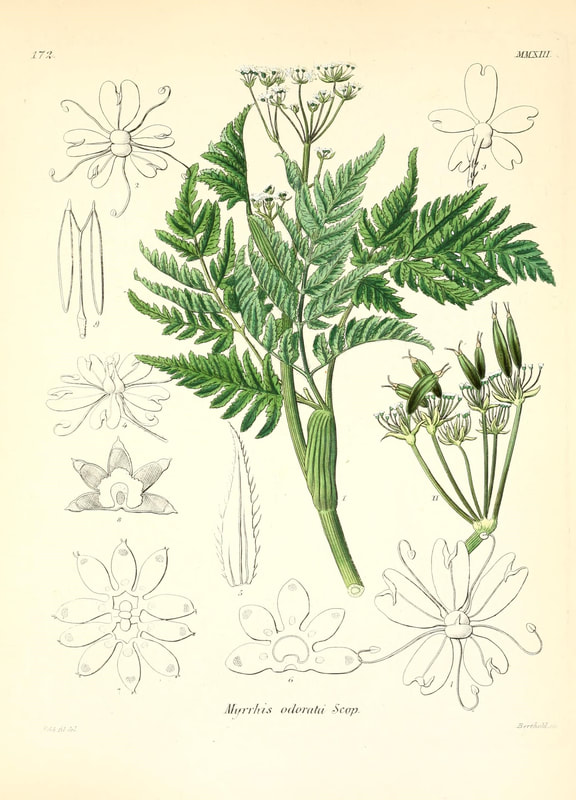
Transferring an image directly onto the encaustic surface can be both super exciting and slightly intimidating your first time out. This week I am posting a free tutorial with both the video and some written steps to help you ease into this fun process ! Any image can be transferred but to start out I recommend using a black and white highly contrasted simple image. Botanicals are great for this . Why ? Well if you accidentally miss a leaf , or bud, when burnishing no one will really know but you . If you start your first transfer with a photograph of a person and the nose is missing it will be a little more obvious and frustrating :) A wonderful resource for botanicals is the Biodiversity Heritage Library https://www.biodiversitylibrary.org If you go to their website and click on view more images on Flickr , they have thousands of beautiful high resolution scans of original hand drawn and hand painted botanical illustrations to choose from . In order to transfer an image onto an encaustic surface the print must be either a laser copy or toner based copier machine image (the older the copy machine the better usually) . I use a Samsung Xpress Color c410 laser printer. One of the questions I am often asked is why will the laser printer work for transfers and the ink jet will not? The best way to describe this that on the toner based copiers and printers the toner lays directly on top of the paper. If you hold an ink jet print and laser print, done on the same copy paper, side by side you will see that the toner is on top paper and you can almost feel it and it has a slight sheen , where on the ink jet print the ink has absorbed into the paper . 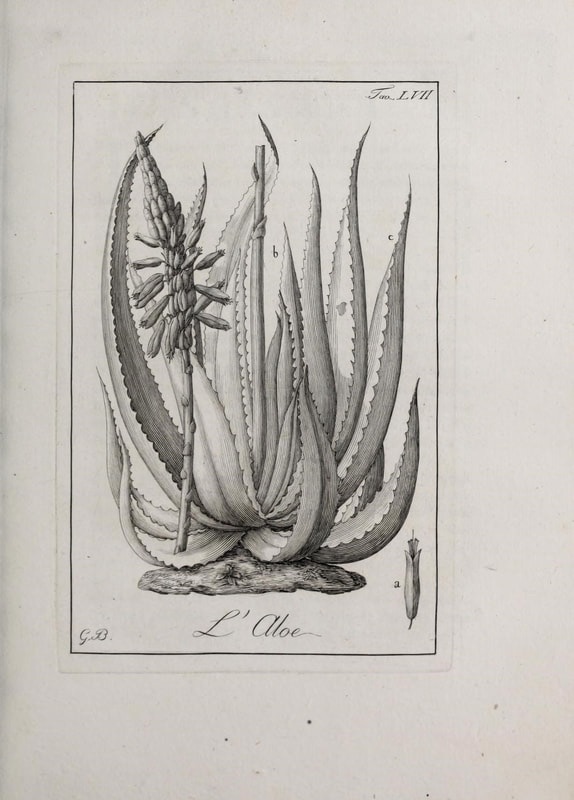
I begin all of my transfers with a base of 3-4 layers of encaustic medium fused flat on a cradled board . If there are lumps , bumps, and valleys on the encaustic surface,this will greatly affect how your image transfers possibly leading to missing parts of the image. Sometimes it helps to get yourself eye level with the surface to ensure the surface is nice and flat . In today's video I am using white encaustic for the base, but any color can be used . Once you have centered the image on your board , begin burnishing with the back of a metal spoon. The time for this process depends on how large your image that you are transferring is . Burnish in every direction also turning your board in every direction to ensure even coverage. My rule is usually burnish , burnish , burnish, and when you think its done go over it a couple more times :) Wet the image slightly with your fingers and begin rubbing gently until paper balls begin to form. Continue to dip your fingers in a cup of water to keep the image wet as you roll away the paper to reveal the image . This is a gentle process and also takes several minutes depending on the size of the image. Fuse the image onto the encaustic surface with a heat gun on lowest setting. Once the image comes to a slight glisten or shine promptly remove the heat. . This part takes practice. It is very easy to over fuse and crack the image . Keeping your heat source high and constantly in motion helps. Once completely cooled ( I usually leave mine to rest over night ) the piece can be buffed with a soft cloth to a very high shine or left matte. 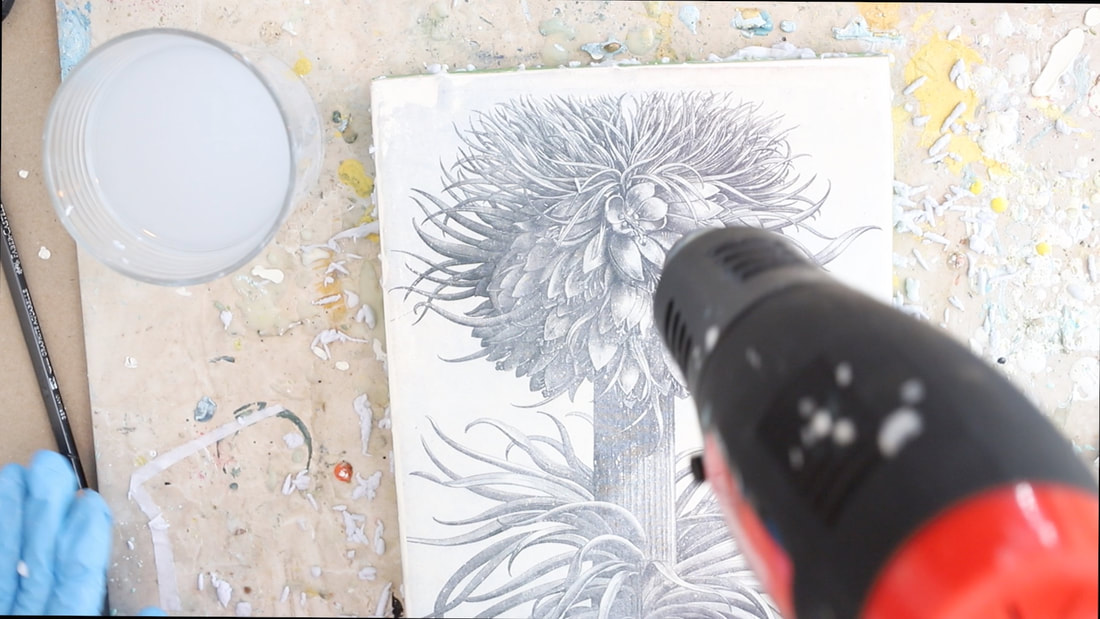
Supplies Used This Week :
Each week I list the supplies I used in the video here on the blog for you so that you can see and easily find the items used for that week's technique . If you purchase items from the links provided it sometimes generates a few cents in commission which goes right back in to creating videos for you on the youtube channel. It does not raise the cost for you in any way, and is the same link you would find on a regular amazon prime search . Thank you ahead for you support of Wax on Wednesdays in any way ! Also , although the photos here can help you easily find the product . I also recommend that you look at your local art /hobby store to make sure you are getting the lowest price. Sometimes with weekly 40% off coupons basic items can be found at a better price. If you are receiving this blog post via email click on the live link to the post so that you can view the supply links .
Encausticology Image Exploration workshop features over 10 hours of step by step instruction and encaustic projects to build your library arsenal of encaustic techniques. From set up, to Image Transfers, shellac burn ,incorporating other mediums, accretion , collage, and assemblage! Available here with lifetime access: Encausticology 101 Online Workshop
1 Comment
|
AuthorShari Replogle is an artist sharing her encaustic and other artistic adventures each week here on the blog and on Youtube. Her full line of workshops featuring encaustic and metal are on this site under available workshops. Archives
June 2021
Categories |
 RSS Feed